How to Take a Passport Photo at Home With Your Phone
Published 7 November 2026 · SepoooTools blog
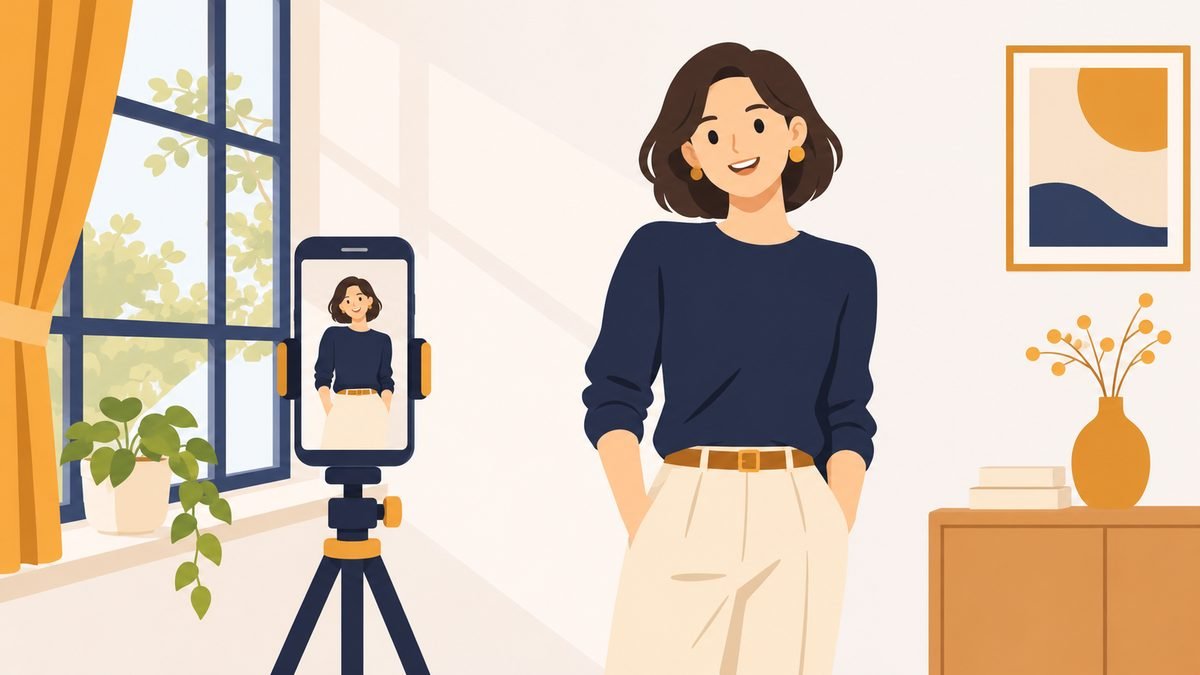
A few years ago I needed a passport photo for my son. The form wanted an exact size, the photo shop was closed, and the deadline was close. I tried at home five times. Every photo had a shadow, or his head was too small, or the file was too big. It took one evening and a lot of stress.
The good news: it is not hard once you know the few things that matter. This guide shows you how to take a passport or visa photo at home with only your phone.
First: check if a home photo is allowed
Rules are different in every country, and they change. Before you start, read the official page of the office that gets your photo. Two examples:
- USA: the State Department accepts photos you take yourself, as long as they meet the rules. The size is 2 × 2 inches (51 × 51 mm), the head must be 1 to 1⅜ inches (25–35 mm) from chin to top of head, and the photo must be taken in the last 6 months.
- Germany: since 1 May 2025, German passports and ID cards only accept digital photos sent by a certified photo studio, a drugstore terminal or the Bürgeramt. A photo you print at home is not accepted there. But many visas, embassies abroad, job forms, school and club cards still accept your own photo.
So: home photo for a visa, a student card, a job portal or many other forms – often yes. For some passports – no. Check first, then save your time.
What you need
- A phone camera (the back camera is better than the selfie camera)
- A plain light wall – white or light grey, no pattern
- Daylight from a window, or two lamps
- A second person, or a tripod with timer
Step 1: the light
Most rejected photos fail because of shadows. Stand facing a window, not with the window behind you. The light should fall evenly on the face. If one side of the face is darker, turn a little or add a lamp on that side. Do not use the flash – it makes shiny skin and red eyes.
Step 2: the background
Stand about one step (50–100 cm) away from the wall. This stops your own shadow from falling on the wall behind you. No pictures, doors or furniture in the frame.
Step 3: distance and camera height
Hold the phone at eye level, about 1–1.5 metres away. Do not stand too close: a phone held 30 cm from the face makes the nose look big. Take the photo from further away and cut it later. Keep the phone straight, not tilted.
Step 4: face and pose
- Look straight at the camera, mouth closed, neutral face
- Both eyes open and clearly visible; hair away from the eyes
- No glasses for the US passport; many other countries also prefer none
- Shoulders straight, head not turned or tilted
- Normal clothes – avoid white tops on a white wall
Take 10–15 photos. It costs nothing, and one will be clearly the best.
Step 5: cut it to the right size
This is where most people get stuck. A form says "35 × 45 mm" or "2 × 2 inch", but your phone photo is a long rectangle. You need to crop it so the head has the right size inside the frame.
Our Passport Photo tool does this for you. Choose the size, move and zoom the photo until the face fits the guide, and download. It also makes a 10 × 15 cm print sheet with several copies, so you can print at a photo shop for a few cents.
Open Passport Photo – free, nothing is uploaded →
Step 6: print or upload
For a printed photo, use the 10 × 15 sheet and print it as a normal photo (not "fit to page", that changes the size). For an online form, check the file limit. Many portals want under 100 or 200 KB – if your file is bigger, use the Image Compressor.
Common mistakes
- Shadow behind the head – stand further from the wall
- Head too small – you cropped too wide
- Photo edited with a beauty filter – officials reject this
- Printed with "fit to page" – the size is now wrong
- Old photo – most offices want one from the last 6 months
Things that make this easier
- Phone tripod with remote – no second person needed
- LED ring light – even light, no shadows
- Photo paper 10×15 – for printing the sheet at home
Als Amazon-Partner verdiene ich an qualifizierten Verkäufen. Links open Amazon.de. The price stays the same for you.
Questions people ask
Can I take a passport photo with my phone?
Often yes, for visas, many forms and some passports such as the US. Germany is an exception: German passports and ID cards only accept digital photos from certified studios or the office. Always check the official page first.
What size is a passport photo?
Many countries use 35 × 45 mm. The USA uses 2 × 2 inches (51 × 51 mm). Always use the exact size from your form.
Can I smile in a passport photo?
Most countries want a neutral face with the mouth closed. A small natural look is fine; a big smile is often rejected.
Why was my passport photo rejected?
The most common reasons are shadows, wrong head size, a busy background, filters or a blurry photo. See our guide on rejected photos.
Is it safe to use your tool?
Yes. The photo is processed on your own phone or computer. It is never uploaded to our server.
Next: Photo rejected by an online form? 9 reasons and fixes.
General information only. Rules change – always check the official page of the office you are applying to.